Editing a Widget Theme is easy. Just pick the design elements and choices you want.
First create a Custom Theme, then use the Theme Editor to set different colors and styles.
Create a Custom Theme
To create your own Widget Theme, copy an existing Custom- or Library Theme.
Go to: Widgets > Widget Themes
The Widget Themes page lists Custom Themes for your account, and Library Themes.
Click the Copy icon to create you own copy of any Theme.

This new theme will be listed in your Custom Themes list.
This new custom Theme can be edited. The editing options are explained below.
The last step is to apply this Theme.
Go to Website Settings - and in the Display Options tab, select the new Theme.
Editing Themes
Only Custom Themes can be edited.
To access the Theme Editor
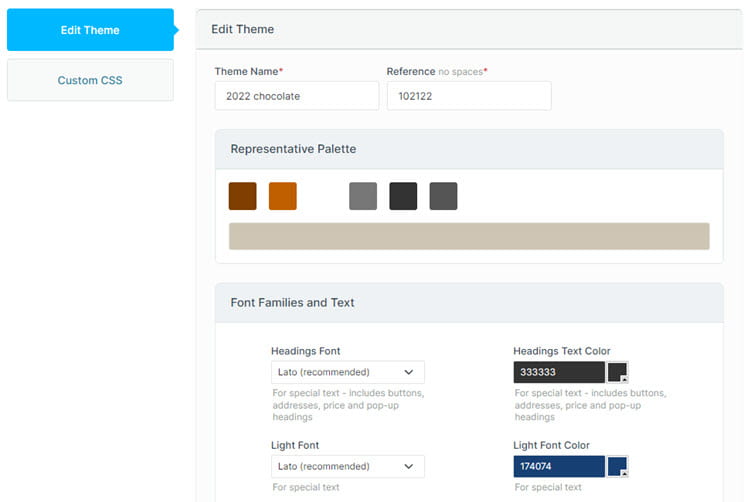
Fonts
We recommend Lato for all three options.
In all cases, font-weights are automatically applied to each font you choose
- "Headings font" - font-weight will be set to 600
- "General font" - font-weight will be set to normal (400)
- "Light font" - font-weight will be set to 300
Widget Background Color
The theme color for Widget Background will be applied as a background color to all widgets apart from the following that are always given transparent backgrounds .
- Search Form (MBBv3_SearchForm)
- Lead Capture Form Widgets (MBBv3_LcForm)
Custom CSS can always be applied to override any background.
Transparent Backgrounds
The background color of the "Widget Background" can be made transparent by deleting the value and saving.
To restore the color picker, type "#ffffff" into the field and save the theme. Then reload the page to see the color picker again.
Apply Your Theme
To apply a Theme to your website, go to Website Settings, then the Display Options tab.
Widget Theme is the first option shown.
Once you apply your theme, if you don't see the theme on your website then clear your website cache.
Save Settings.
Adding CSS
More advanced styling can be achieved by manipulating the CSS directly.
See Using CSS with Widget Themes.