This tutorial will show you how to add a page to display your sold listings.
You must have a live MLS data feed to show your sold listings
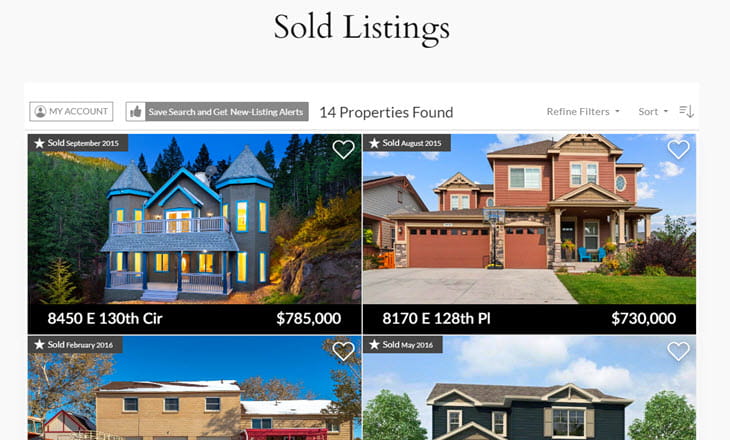
The widget filter can be adjusted to show your sold listings, or sold listings from your office etc.
This display will use the Featured-Grid display widget. This version of the Grid Widget can only be used when the filter includes your agent ID or your office ID. If these are not specified, then the regular Grid layout widget will be displayed instead.
How to Show Your Sold
The widget we will create can either added to a new page, or you can add this widget to an existing page that may already display you current active listings.
Use the Wizard to create a new widget
- In your Buying Buddy account, go to Widgets then "Wizard".
- Choose the option to display "Properties listed/sold by me, or my brokerage".
- On step-2, select "Featured-grid layout"
- Then follow the steps in the wizard to select more options.
- On the "Extra Filters" panel, you must add your listing Agent ID, or listing Office ID to the options to see the Featured Grid layout.
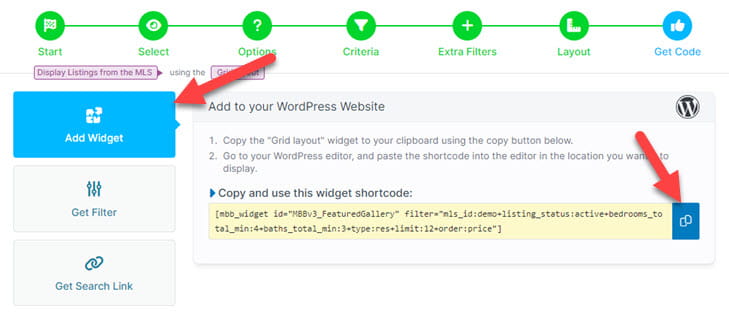
NOTE: If you are unsure what this is, then use the Listing Lookup tool (go to Listings > Listing Lookup) to inspect a one of your listings from your MLS. This will show you the agent ID and office ID. - On the final step of the wizard, select the "Add Widget" tab on the left.
Then click the copy button to copy the short code to your clipboard. - Return to your WordPress editor
- Paste the whole short code into your page.
This can be done as plain text or as a 'short code' block.
Ideas for Doing More
- You can edit your page to tailor as you need.
- Add more content above, below or around the widget.
- Create multiple landing pages with properties.
Repeat the approach above to create additional hot-sheet or landing pages that focus on your active, sold, neighborhoods and so on.
Use the Widget Wizard to add new widgets with filters to your website.