This tutorial will help you add a new widget to your WordPress website.
Use the Wizard to create a new widget
- In your Buying Buddy account, go to the Widgets menu, then select "Wizard".
- Then follow the steps in the wizard.
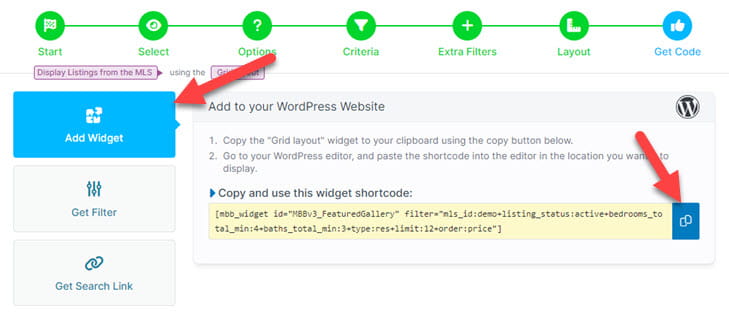
Continue through the wizard selecting any of the filter options available that can include: MLS fields, property status, listing agent, listing office and more. - On the final step of the wizard, select the "Add Widget" tab on the left.
Then click the copy button to copy the short code to your clipboard - Return to your WordPress editor
- Paste the short code into your webpage.
This can be done as plain text or as a 'short code' block.
Ideas for Doing More
- Use widgets to add MLS content to your website.
- Use the Wizard to create more widgets to help your marketing.
- See our demonstration website for inspiration and ideas.