
This guide will walk you through installing and setting up Buying Buddy on your Superlative website. The process involves three main steps that we'll cover in detail.
Important: With Superlative, it's not possible to add the Buying Buddy JavaScript Library to a common "head" section. This means each time you add a Buying Buddy Widget to any page, you must also ensure the Buying Buddy JavaScript Library is included on that page too. Only add the JavaScript Library once per page.
Installation Steps
1
Add Foundation Pages with Widgets
Create required Results and Details pages
Create 2 key pages for your Buying Buddy account:
- Results Page (which will show the "Results" widget)
- Property Details Page (which will show the "Property Details" widget)
Plus, you will also need to add a Search Form widget on any other page for testing.
Create Pages:
- Login to your Superlative account and create 3 extra pages using the Superlative Page Editor
- For each page, add a Content Block and select "Text Block"
2
Insert Widget Code and Plugin on Each Page
Add JavaScript and widget code to each page
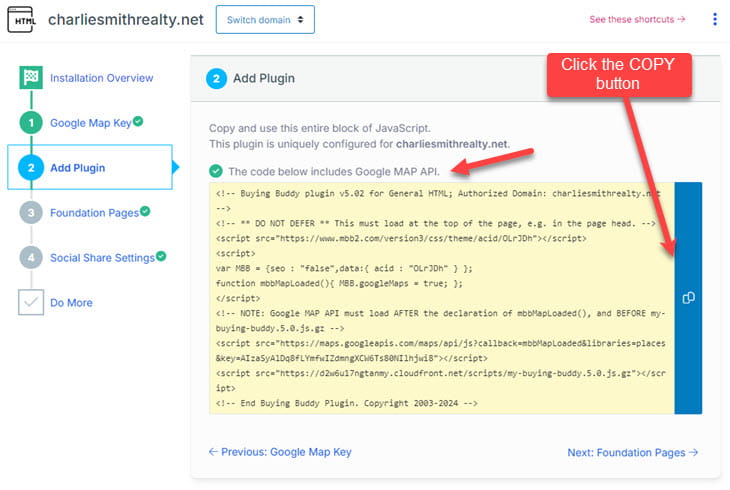
Get Your Plugin Code:
- In your Buying Buddy dashboard go to Installation and Setup
- Select your website and ensure it's set as a General HTML site on the "Get Ready" tab
- Go to the "Add Plugin" tab and copy the JavaScript code
Set Up Results Page:
- Edit the new "Results" page and click "Add Text" for the text block
- At the bottom of the editing panel, click the HTML button to switch to HTML mode
- First, paste the Buying Buddy JavaScript code you copied above
- Then, paste the following code for the Results widget below the JavaScript:
<bb-widget data-type="ListingResults"></bb-widget>
- Click "Save and Finish" to save the text block
- Click the green "Publish" bar to make the change live
Set Up Details Page:
- Repeat the above steps for your Details page
- Add both the Plugin JavaScript and the widget code
- Use this widget code for the Details page:
<bb-widget data-type="SearchDetails"></bb-widget>
Note: The details widget may display a SQL error if you preview it - ignore this. The widget is installed correctly and this error is never seen by users.
Set Up Search Page:
- Add the Search Form widget to any other page using the same process
- Add both the Plugin JavaScript and the widget code
- Use this widget code for the Search form:
<bb-widget data-type="SearchForm"></bb-widget>
3
Enable Property Sharing
Set up social media sharing with correct listing photos
To allow visitors to share properties from your website on Facebook and other social media platforms with the correct listing photos and details, you'll need to set up a "bb" subdomain for your domain.
Setup Options: You can use either Cloudflare (recommended for free SSL certificates) or your current domain registrar.
The Social Media Sharing Setup Instructions will guide you through both options.
Next Step:
Note: Your Buying Buddy dashboard has customized instructions for your domain in the Installation and Setup section (Social Share Settings tab) of your Buying Buddy account.Widgets - Installation and Setup : Social Share tab
Customization Options
To adjust the layout of your widgets (make them wider or narrower, or display them in a particular way), add some inline CSS to the widget div by adding a "style" section inside the div tag.
For color adjustments, use Widget Themes as needed.
Next Steps
Your Superlative site is now ready for advanced Buying Buddy features! Consider adding:
- Featured Listings pages to display your own listings
- Sold properties displays
- Neighborhood-specific property pages
- Lead capture forms connected to Buying Buddy CRM
- Contact forms and custom styling with Widget Themes
For inspiration, view our demonstration sites:
- https://charliesmithrealty.com (WordPress)
- https://charliesmithrealty.net (HTML / PHP)
Need additional help? Contact our support team through your Buying Buddy dashboard.